What you'll build 0 · Get NodeZ running 1 · Create a project 2 · Meet the canvas 3 · Add a trigger 4 · Welcome the player 5 · Give an item 6 · Generate the code 7 · Build the mod 8 · Test it in-game 9 · Put it on your server Where to go next
A "welcome" mod
When a player joins your server, they get a welcome message on screen and a starter item in their inventory. It is deliberately tiny — the point is to learn the whole flow, from an empty canvas to a mod running on your server. Once you have done it once, everything else in NodeZ is the same three moves: add a trigger, wire some actions, generate.
Get NodeZ running
Subscribe, download NodeZ from the download page, unzip it anywhere, and run NodeZ.exe. On first launch it asks for your license key — paste the key from your welcome email and you are in. That is the only setup.
Good to know: NodeZ writes ordinary DayZ Enforce Script that is yours to keep. The mods you make keep working even if you cancel later — there is no runtime lock-in.
Create a project
Click New in the top toolbar. Give your project a mod name — this becomes the name of the mod folder DayZ loads, so keep it simple and unique, e.g. WelcomeMod. Pick an output folder if it asks (where the finished mod will be written). That's it — you now have an empty canvas.
Naming tip: use letters and numbers, no spaces (MyServerWelcome, not My Server Welcome). DayZ mod folders don't like spaces.
Meet the canvas
The big grid in the middle is where you build. On the left is the node palette (every action NodeZ can do, grouped by category); on the right is the Details panel, which shows the settings of whatever node you have selected.
Everything in NodeZ is a node — a little box you drop on the canvas and wire to others. There are a few kinds, and they are colour-coded just like this:
- ● Events — things that happen in the game (a player joins, someone dies, a timer ticks). An event is where a chain starts.
- ● Actions — things NodeZ does (spawn an item, send a message, teleport a player). Actions run in order, one after another.
- ● Values — things NodeZ reads or calculates (a player's name, a random number, a position). They don't "run"; they just supply a value to something else.
Nodes connect through pins — the little dots on their edges. There are two types, and this is the one idea that makes everything click:
- Trigger pins (exec) — the white flow pins. A wire between them says "when this finishes, do that next." They set the order things happen in.
- Value pins (data) — the coloured pins. A wire between them carries a value (a player, a number, some text) from one node into another.
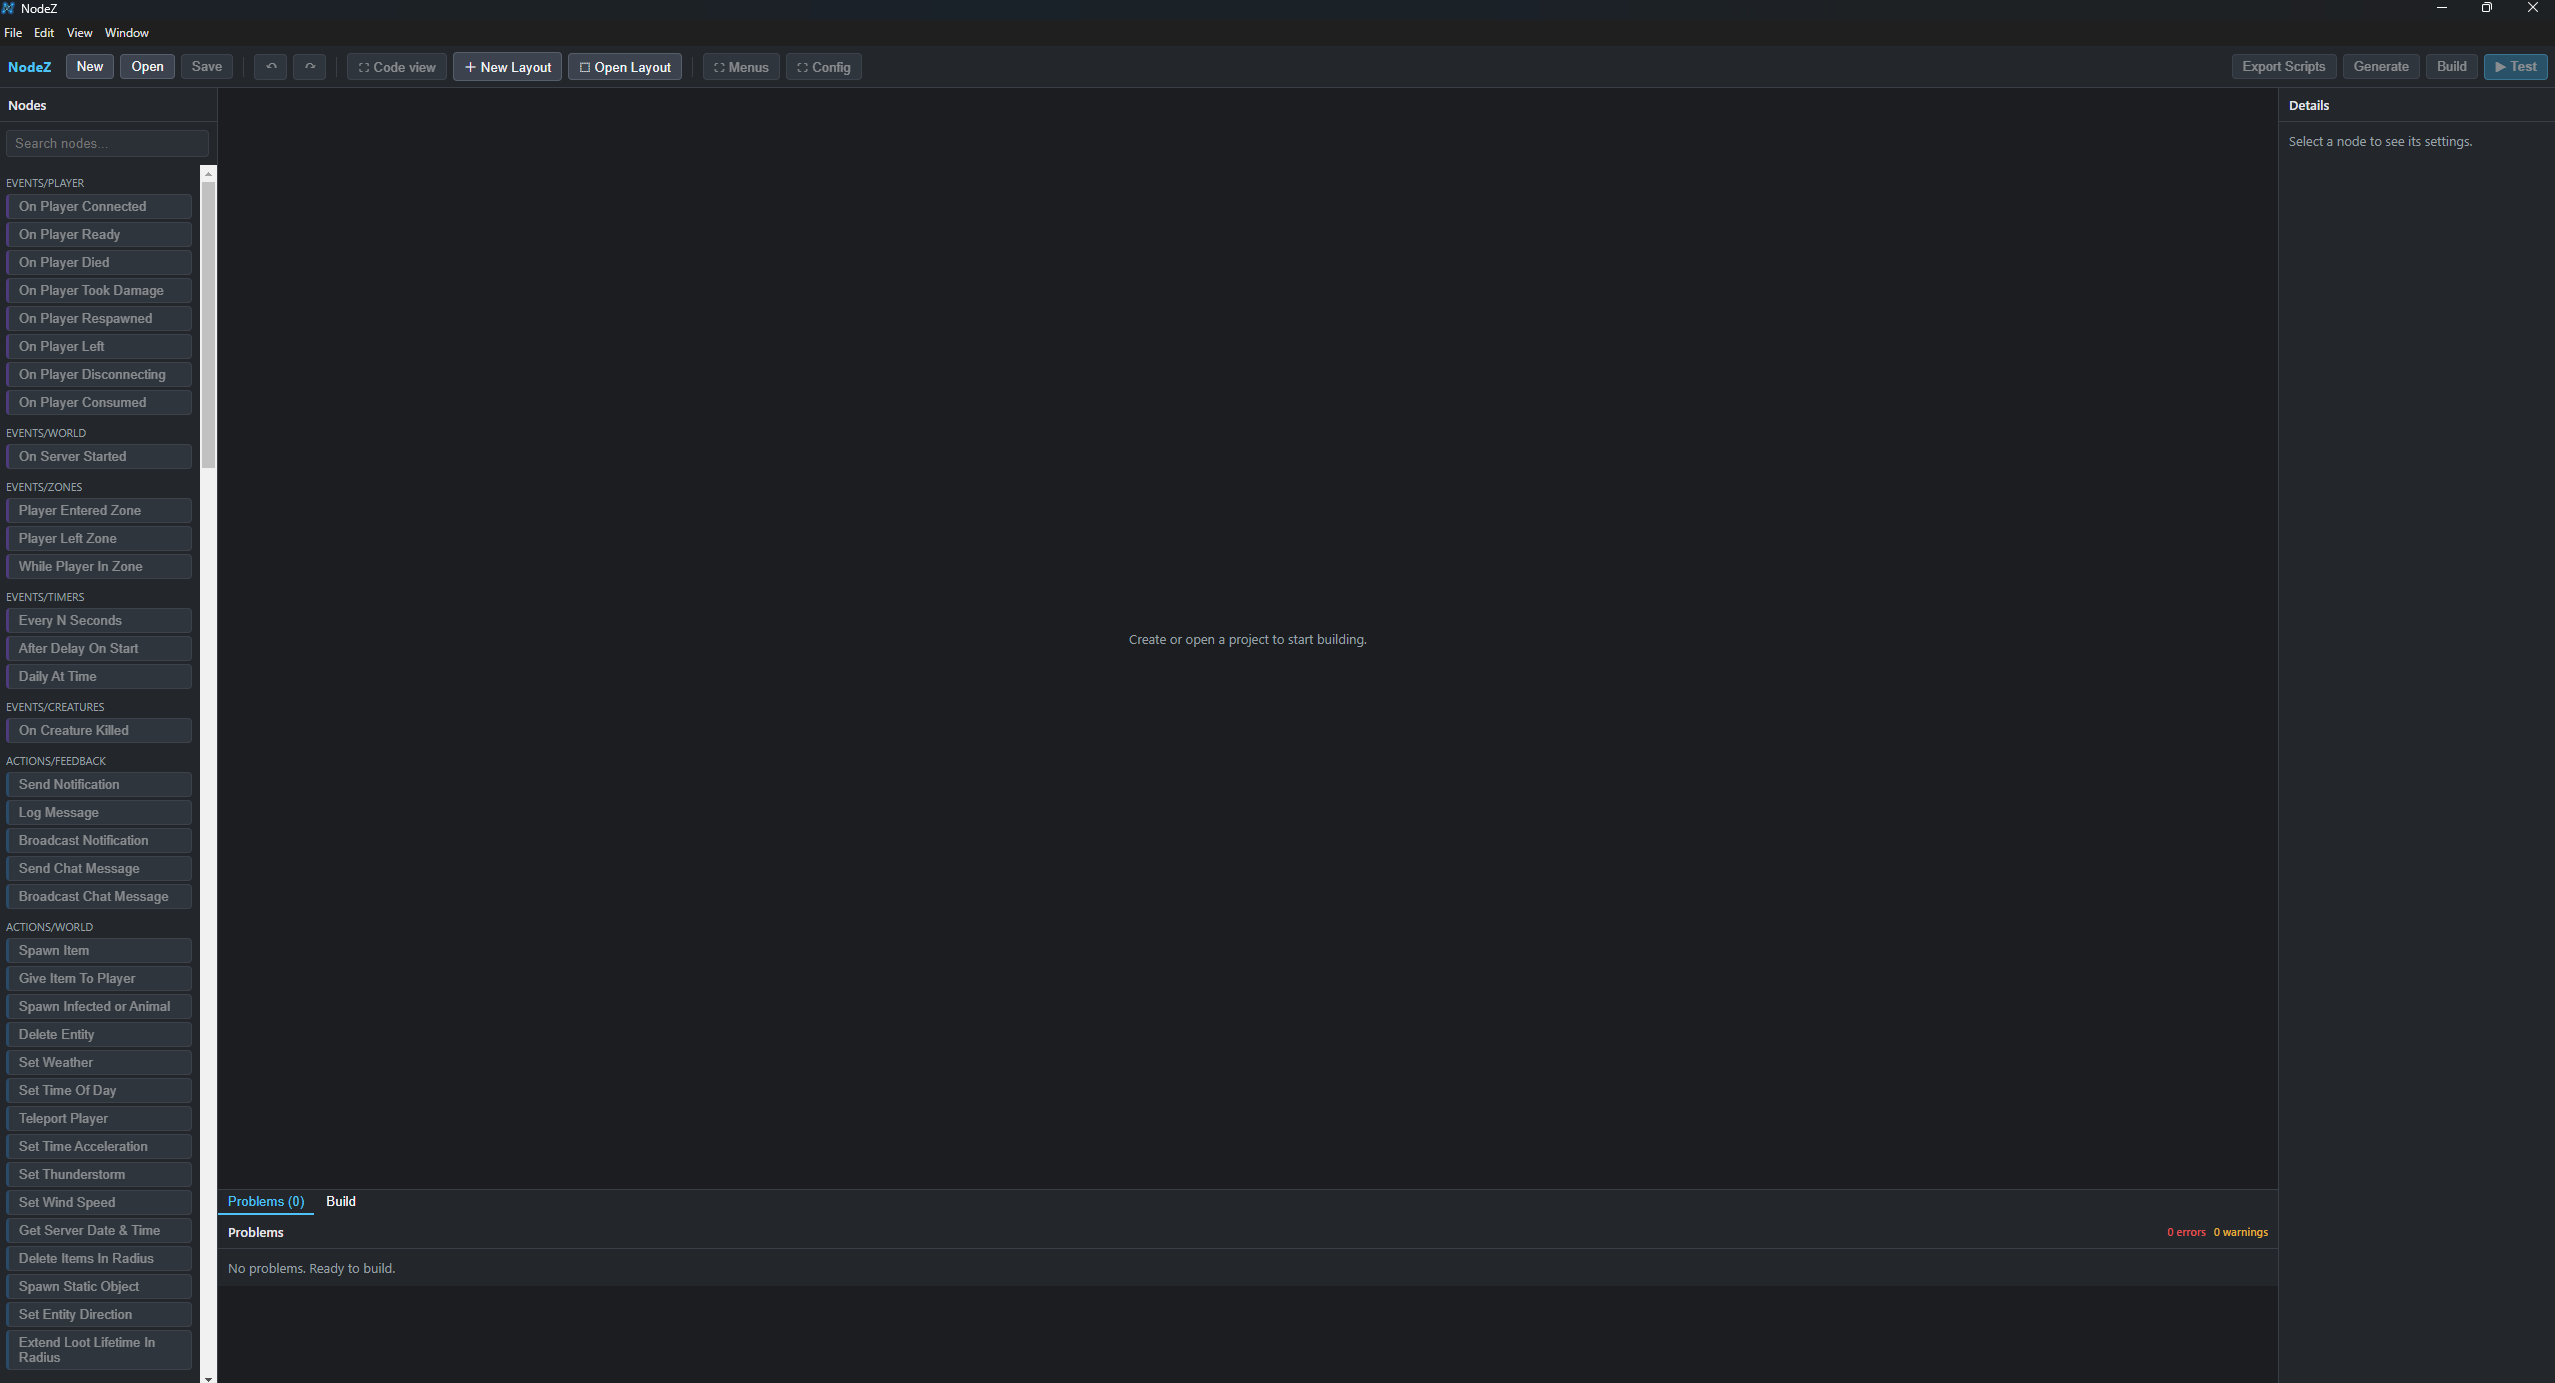
To add a node: use the palette on the left (search or pick a category), and it drops onto the canvas. Click a node to select it, drag it to move it, and press Delete to remove it. Drag from one pin to another to wire them.
Add a trigger: "On Player Connected"
Every mod starts with an event. From the palette, under Events › Player, add On Player Connected. This fires once each time a player joins the server.
Look at its right-hand pins. It has a white trigger pin (the chain that runs when someone joins) and a coloured Player pin — that's the player who just joined, ready to hand to any action that needs to know who.
Welcome the player
From Actions › Feedback, add Send Notification. Select it, and in the Details panel type your message, e.g. Welcome to the server!.
Now wire it up — two connections:
- Drag from the event's white trigger pin to the notification's white trigger pin. This says: when a player connects, show the notification.
- Drag from the event's Player pin to the notification's Player pin. This tells the notification who to show it to.
Wires won't connect? Pins only join like-to-like: white to white (order), and a colour only to the same colour (a Player value only fits a Player pin). If a wire refuses to attach, the two pins are different types.
Give them a starter item
From Actions › World, add Give Item To Player. In the Details panel, set the item classname — the exact name DayZ uses for the item. For a simple, always-valid example use Rag (you can change it to any item or weapon classname later, e.g. SodaCan_Cola or M4A1).
Wire it after the notification: drag from the notification's white trigger pin to this node's trigger pin, and its Player pin from the event's Player output. The chain now reads top to bottom:
Read it left to right: a player joins → they see the message → they get a Rag. That's a complete, working mod. The white wires set the order; the blue Player wires carry who it all applies to.
Where do classnames come from? They're the item names in DayZ's config. You can copy them from other mods, the DayZ wiki, or your server's types.xml. NodeZ doesn't limit you to a list — type any valid classname.
Generate the code
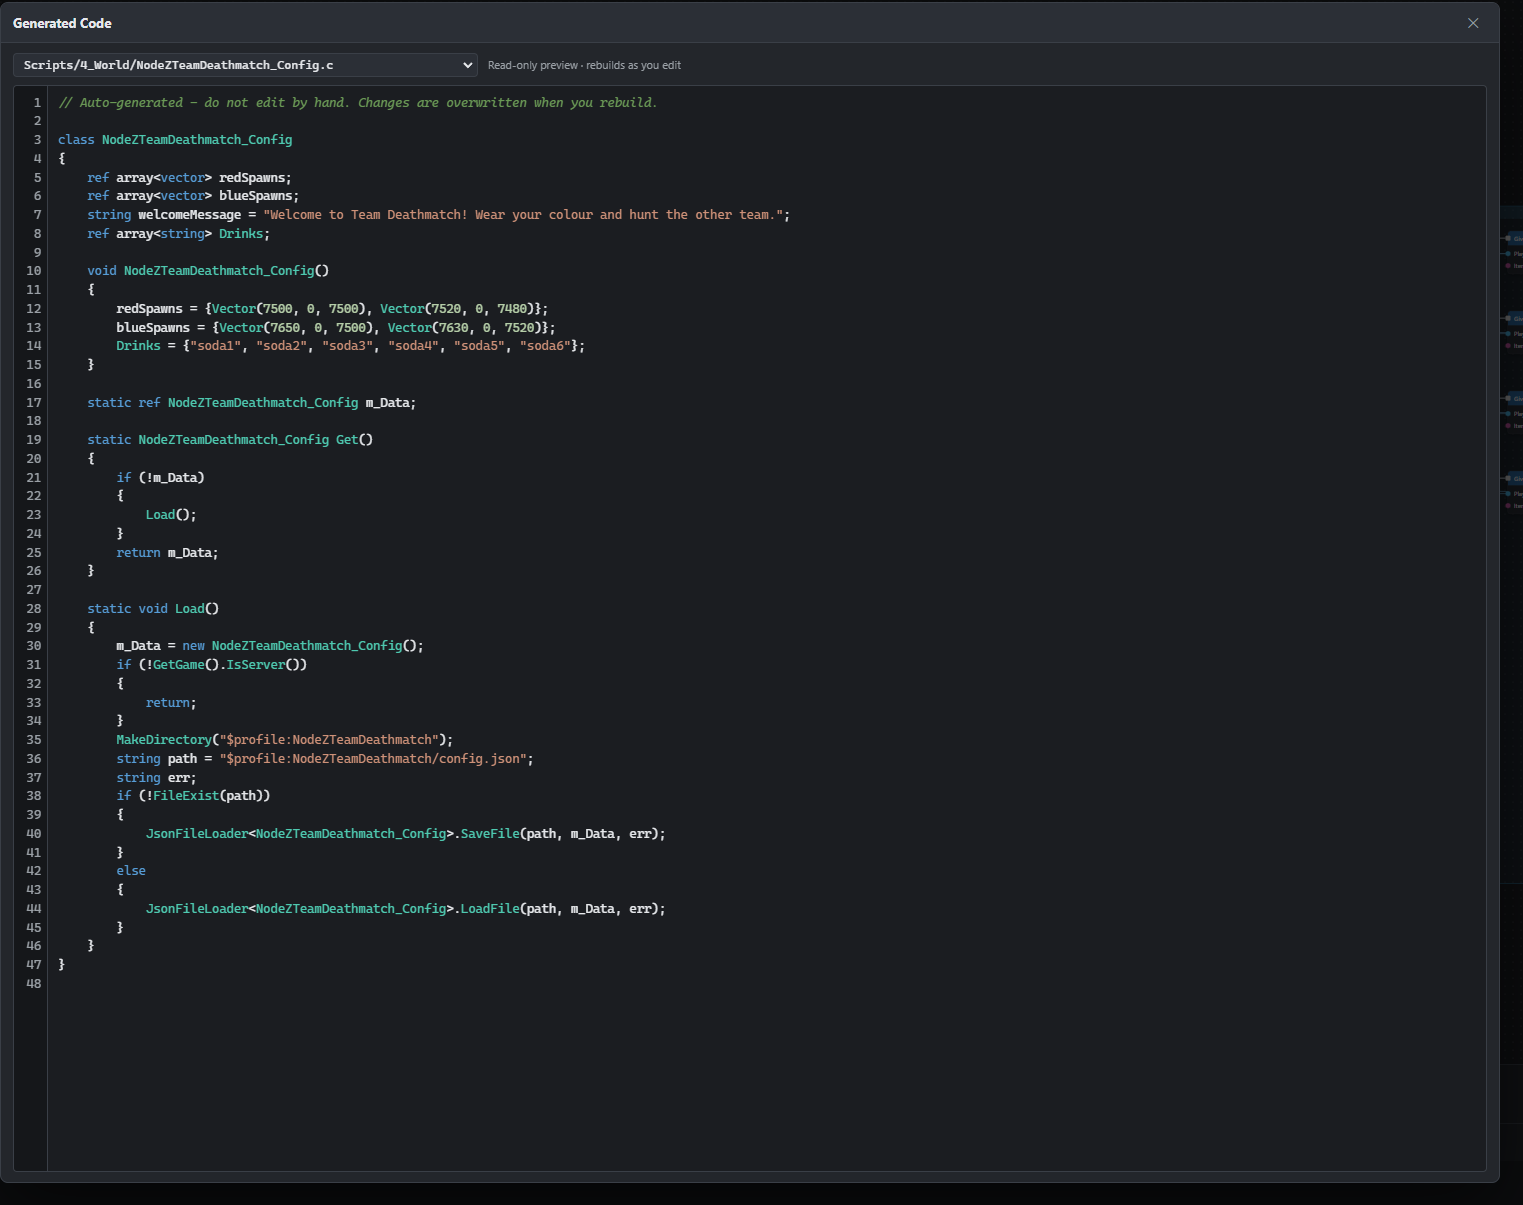
Click Generate. NodeZ reads your graph and writes the real Enforce Script for it. Click Code view to see it — this is genuine, standard DayZ script, the same as a pro would hand-write. You never have to edit it, but it's yours to read, learn from, and keep.
NodeZ splits it into the two files a proper mod uses: your logic in a handler, and a tiny hook that DayZ calls. This is the actual output for the graph above — not a simplification:
Scripts/4_World/WelcomeMod_Events.c — your logic
// Auto-generated - do not edit by hand. Changes are overwritten when you rebuild.
class WelcomeMod_Events
{
    static void On_G_1_PlayerConnected(PlayerBase player, PlayerIdentity identity)
    {
        NotificationSystem.SendNotificationToPlayerExtended(player, 6, "Welcome to the server!", "");
        EntityAI l_ent1;
        l_ent1 = player.GetHumanInventory().CreateInInventory("Rag");
        if (!l_ent1)
        {
            l_ent1 = player.SpawnEntityOnGroundPos("Rag", player.GetPosition());
        }
        ItemBase l_item1;
        l_item1 = ItemBase.Cast(l_ent1);
    }
}
Scripts/5_Mission/WelcomeMod_MissionServer.c — the hook DayZ calls when a player connects
// Auto-generated - do not edit by hand. Changes are overwritten when you rebuild.
modded class MissionServer
{
    override void InvokeOnConnect(PlayerBase player, PlayerIdentity identity)
    {
        super.InvokeOnConnect(player, identity);
        WelcomeMod_Events.On_G_1_PlayerConnected(player, identity);
    }
}
When a player connects, DayZ runs InvokeOnConnect, which calls your handler. Notice the detail NodeZ added on the item: if the player's inventory is full, CreateInInventory returns nothing, so it falls back to dropping the Rag at their feet with SpawnEntityOnGroundPos — a safety net a beginner would easily miss, written for you automatically.
Nothing to install for this step: generation happens against your account. If there's a mistake in the graph (a missing value, a wire that doesn't fit), NodeZ tells you in the Problems panel at the bottom instead of writing broken code.
Build the mod
Click Build. NodeZ packs your generated script into a .pbo — the packed file format DayZ mods ship as — inside a mod folder named after your project (e.g. @WelcomeMod) in your output directory. That folder is your mod.
First build? Building a real .pbo uses DayZ Tools (free on Steam). If NodeZ can't find it, it'll point you to install it. Once it's installed, Build is one click every time after.
Test it in-game
Click Test. NodeZ launches a local DayZ diagnostic server and a client that joins it, with your mod loaded. When your character spawns, you should see the welcome message and find a Rag in your inventory. Change the message, hit Generate → Build → Test again, and you'll see the difference in seconds.
Needs the game: the one-click test launches DayZ locally, so you need DayZ (or the free DayZ Server) installed. The test launcher can load other mods alongside yours too (CF, Dabs, map mods), so you can test in a realistic setup.
Put it on your server
Copy the @WelcomeMod folder to your DayZ server, add it to your server's mod list / startup line like any other mod, and restart. That's it — every player who joins now gets your welcome. Because the output is a normal mod, it installs exactly the way every other DayZ mod does.
Where to go next
You just did the entire NodeZ loop: trigger → actions → Generate → Build → Test → ship. Everything else is more of the same, with richer nodes:
- Zones — run logic when a player enters a circular area (safezones, radiation, reward zones).
- Timers — do something every N seconds, or once at a set time of day (airdrops, restarts warnings).
- Branches & conditions — "only if it's night", "only a 25% chance", "only if the player has X".
- JSON config — expose values (spawn points, messages, chances) to a
config.jsonso server owners can retune without regenerating. - Menus & HUDs — design real UI in the visual layout editor and wire buttons to your logic.
- 146+ nodes — loot, weather, economy, damage, vehicles, players, and a Custom Script node for when you want to drop into raw code.
Stuck on something, or want ideas? The community is on Discord and happy to help.